

Wedding and Festival season are right around the corner & who doesn't love a good flower crown? I have always loved flower crowns, but assumed they were super complicated and hard to make. Wow, was I wrong. These things are so fun, so easy and quite more affordable to make than I thought.
My best friend is getting married in a few weeks & we are making flower crowns to wear down the aisle. I am the maid of honor and I have been practicing to make sure these bad boys look perfect. I feel like I have it down! Here's how you make them!
DIY Flower Crown
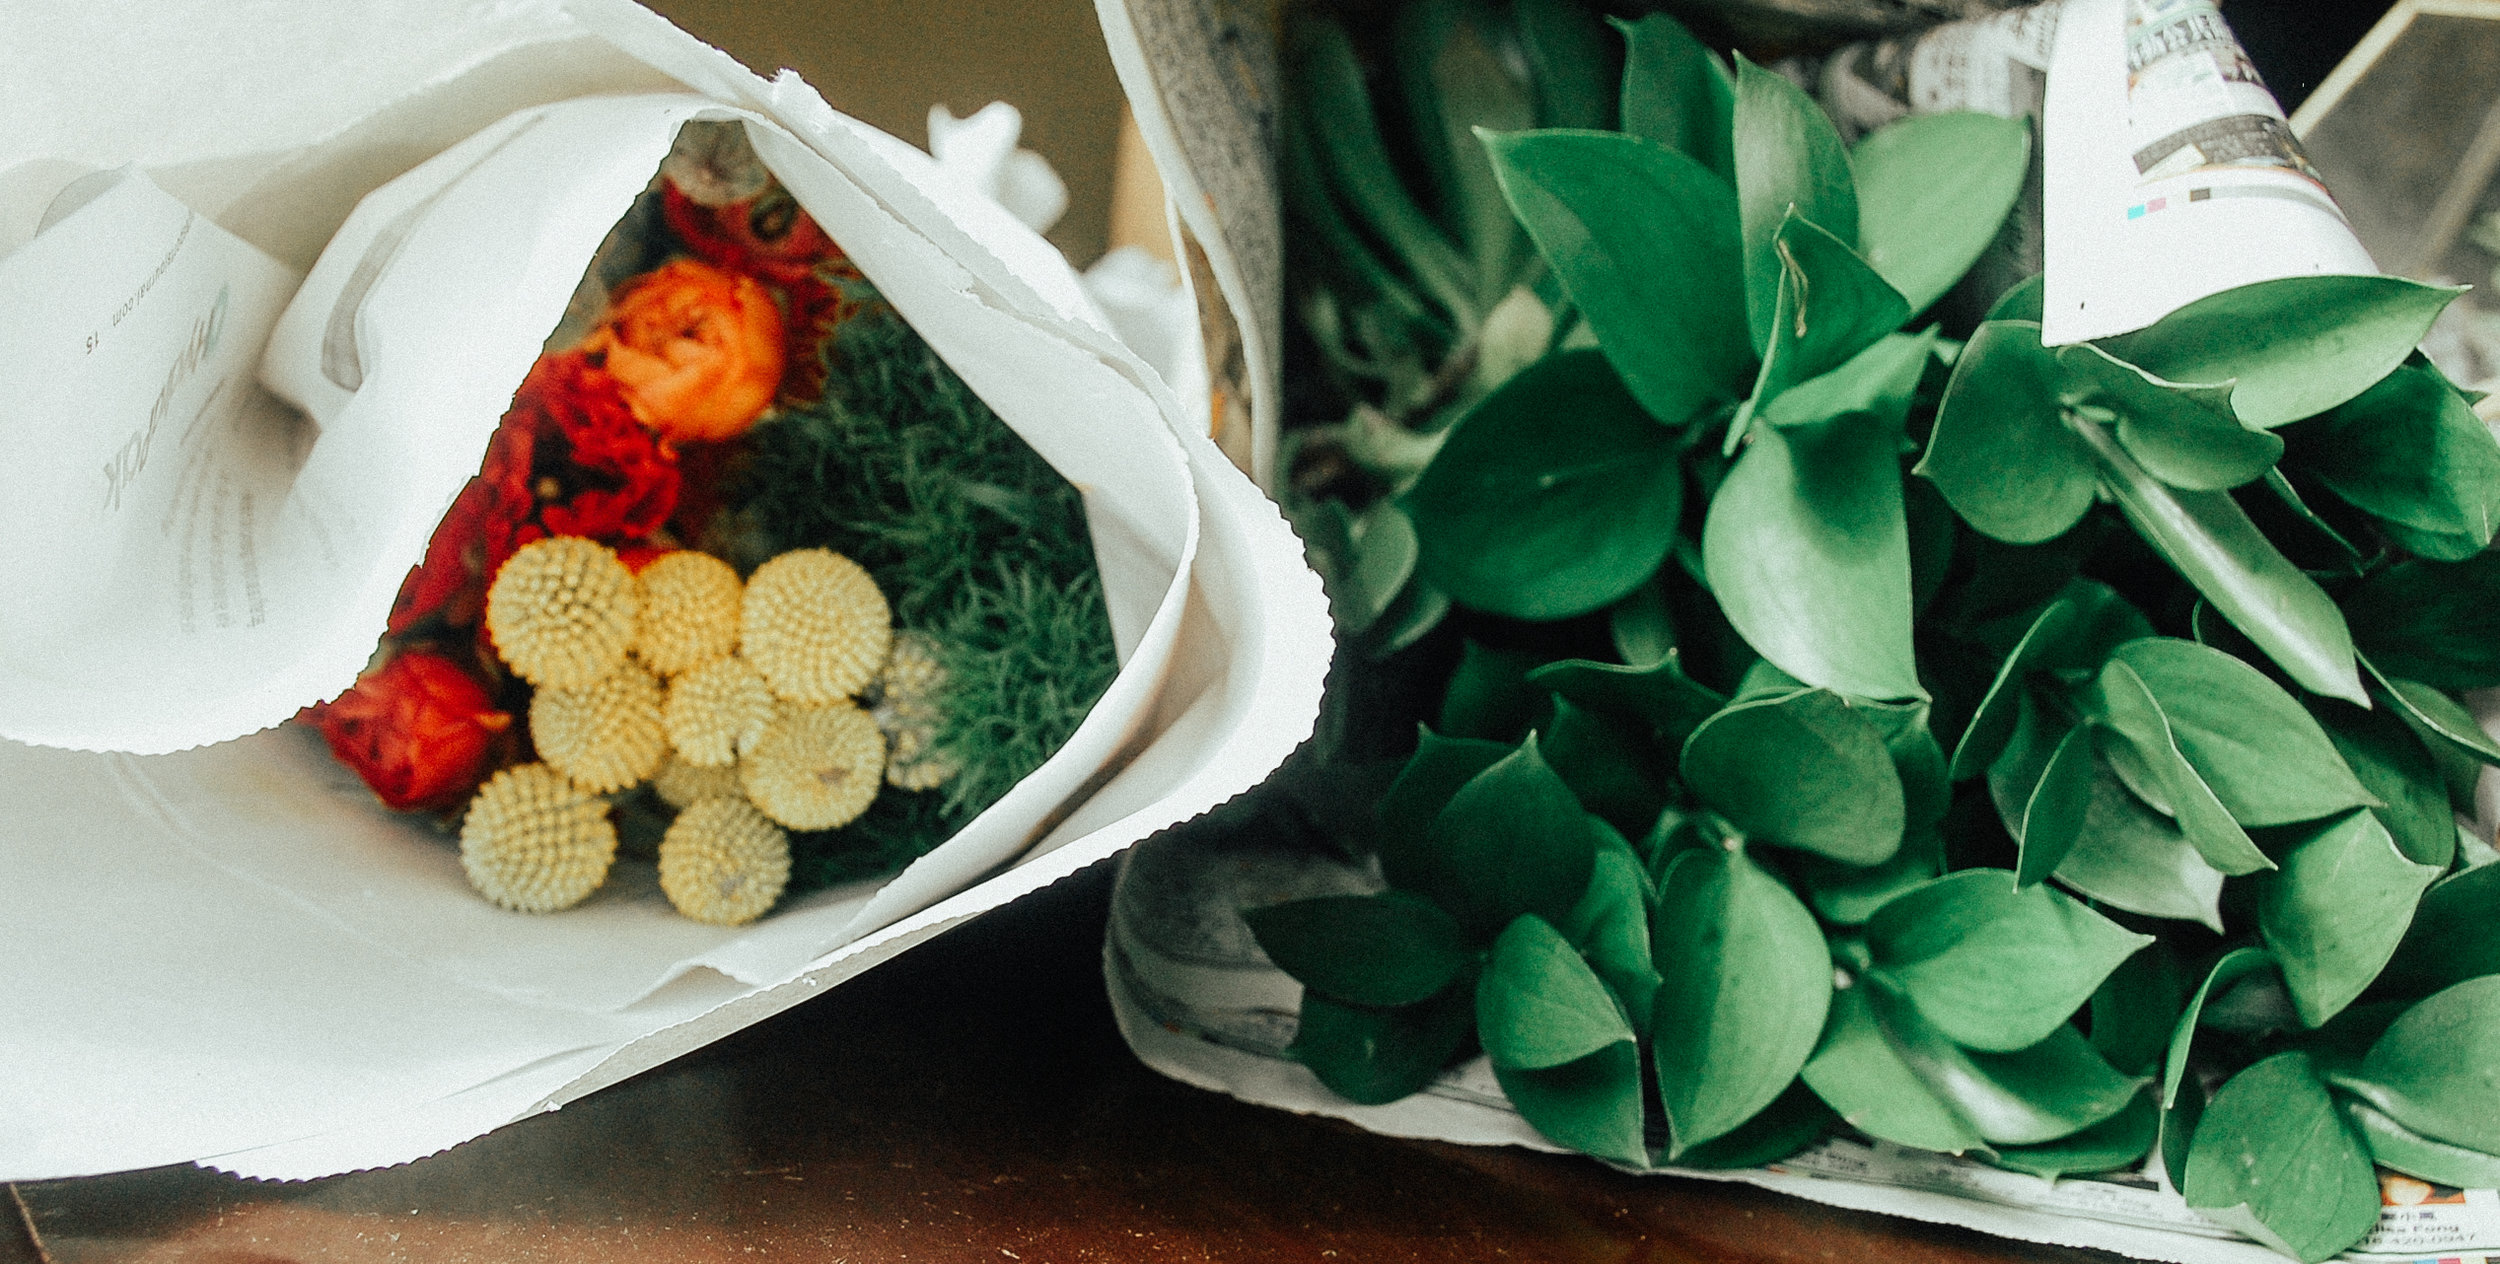
Step 1: Buy Flowers & Greenery
Head over to your local flower mart and pick up some of your favorite flowers and greenery. Today, I made a wildflower flower crown with ranuculus, yellow billy balls, green dainthus & long stem succulents. Feel free to pick up anything that catches your eye, just make sure you get some greens or a filler to cover any gaps in your flower crown. One of my favorite combinations is roses, baby's breath & eucalyptus leaf. You can also do all greenery or all daisies if you're feeling extra 70's boho.


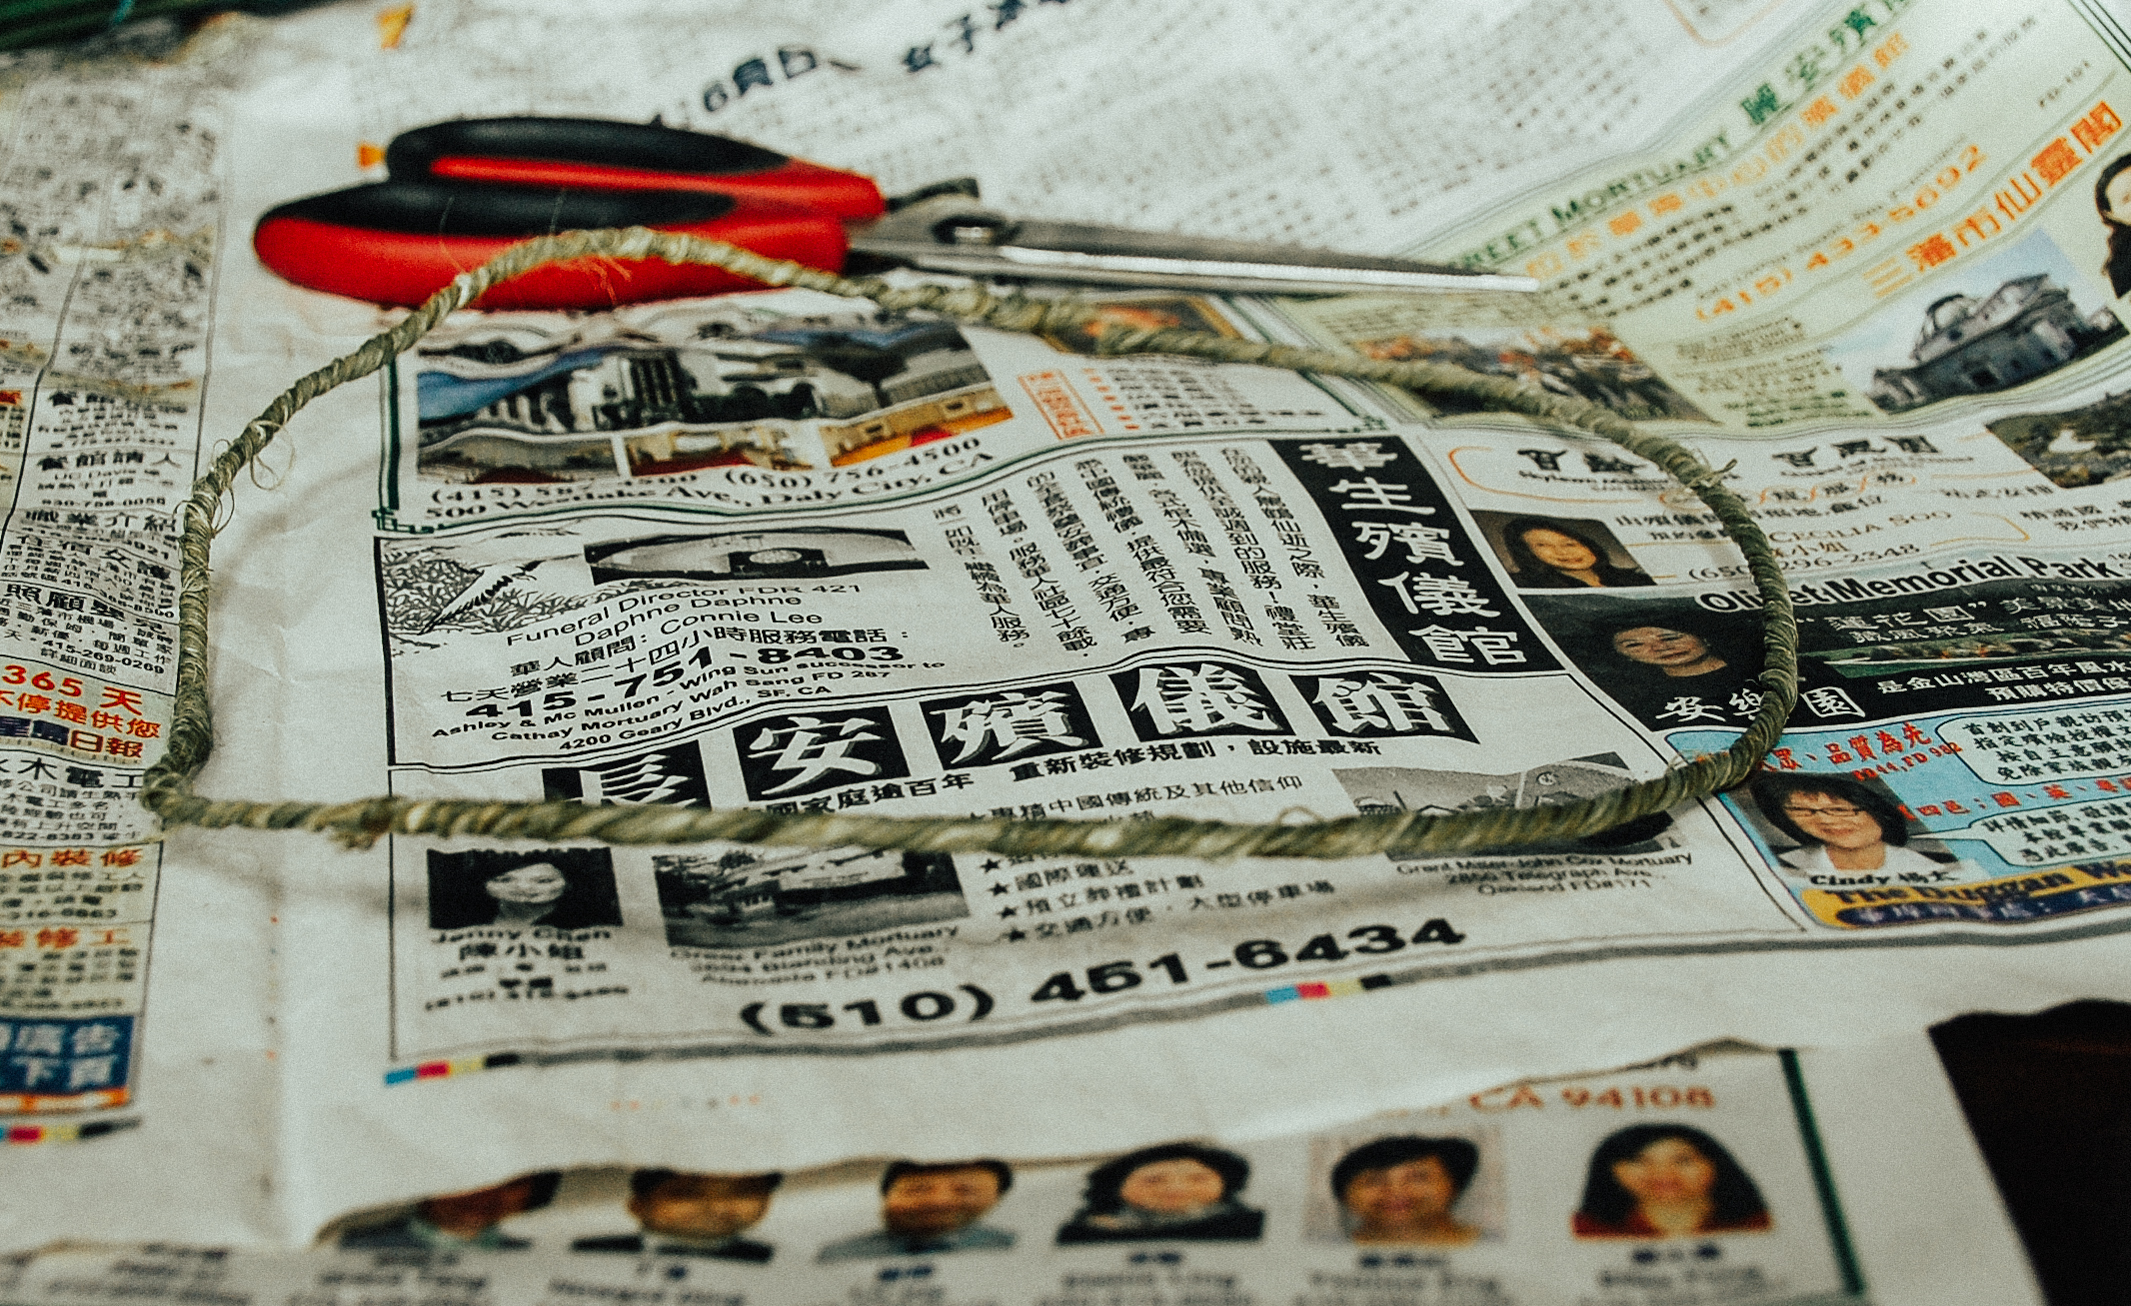
Step 2: Pick Up Supplies
Head over to a flower supply store and grab some green paddle wire, some rustic wire and some heavy duty scissors (if you don't have any).

Step 3: Measure & Cut Your Headband
Take your rustic wire and measure your head or whoever's head you're making the crown for, then cut the wire .
Step 4: Secure The Headband
Now you'll twist the ends of the rustic wire to secure the headband. If you have a hard time with this and you have some pliers, feel free to grab them to tighten the sometimes sharp ends down.

Step 5: Cut the Paddle Wire
Measure out about 3 1/2 feet of the green paddle wire and cut it. Don't worry if it's too much or not enough. If it's too much, you can cut the extra off at the ends. If it isn't enough, you can cut more and twist it on to another piece to add length.

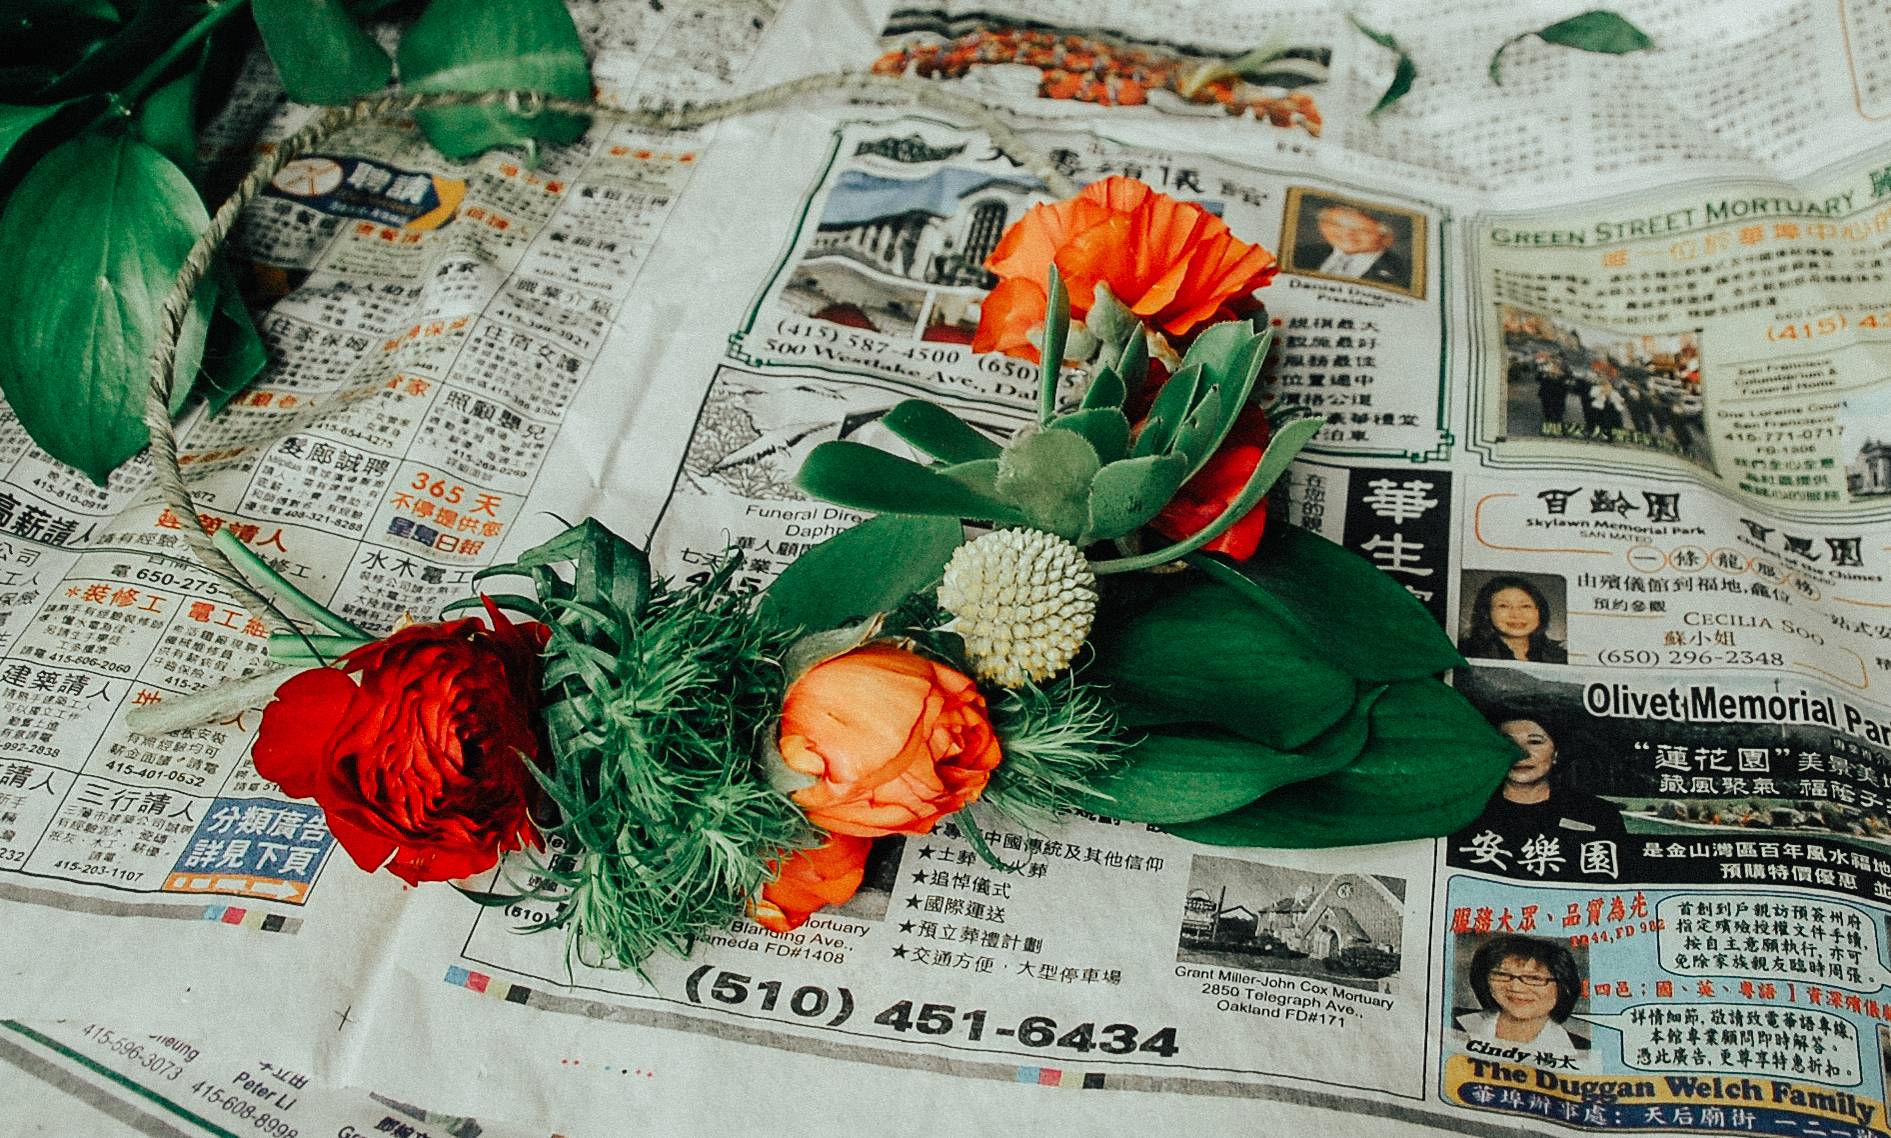
Step 6: Add Your First Flower
Right on top of the big twist you made with your rustic wire, add your first flower. To secure your flower, all you have to do is wrap the green paddle wire around a few times.

Step 7: Start Adding Greenery
Now you're off to the races. Start adding some greenery, give the green paddle wire a few spins around to secure, and continue adding. Now's the time to get creative. There's no right or wrong here, just go ahead and have fun.

Step 8: Half Crown
Now that you have been working at making this crown, you may love it and leave it as a half crown. You can wear a half crown front and center on your forehead, off to the side, or backwards to give some low floral details. If this isn't your thing, let's continue on to make a full crown!

Step 9: Full Flower Crown
Continue alternating adding flowers, securing them & adding greens. Once you've been working on this a while it will get fuller and fuller until you're all finished with a nice full crown!
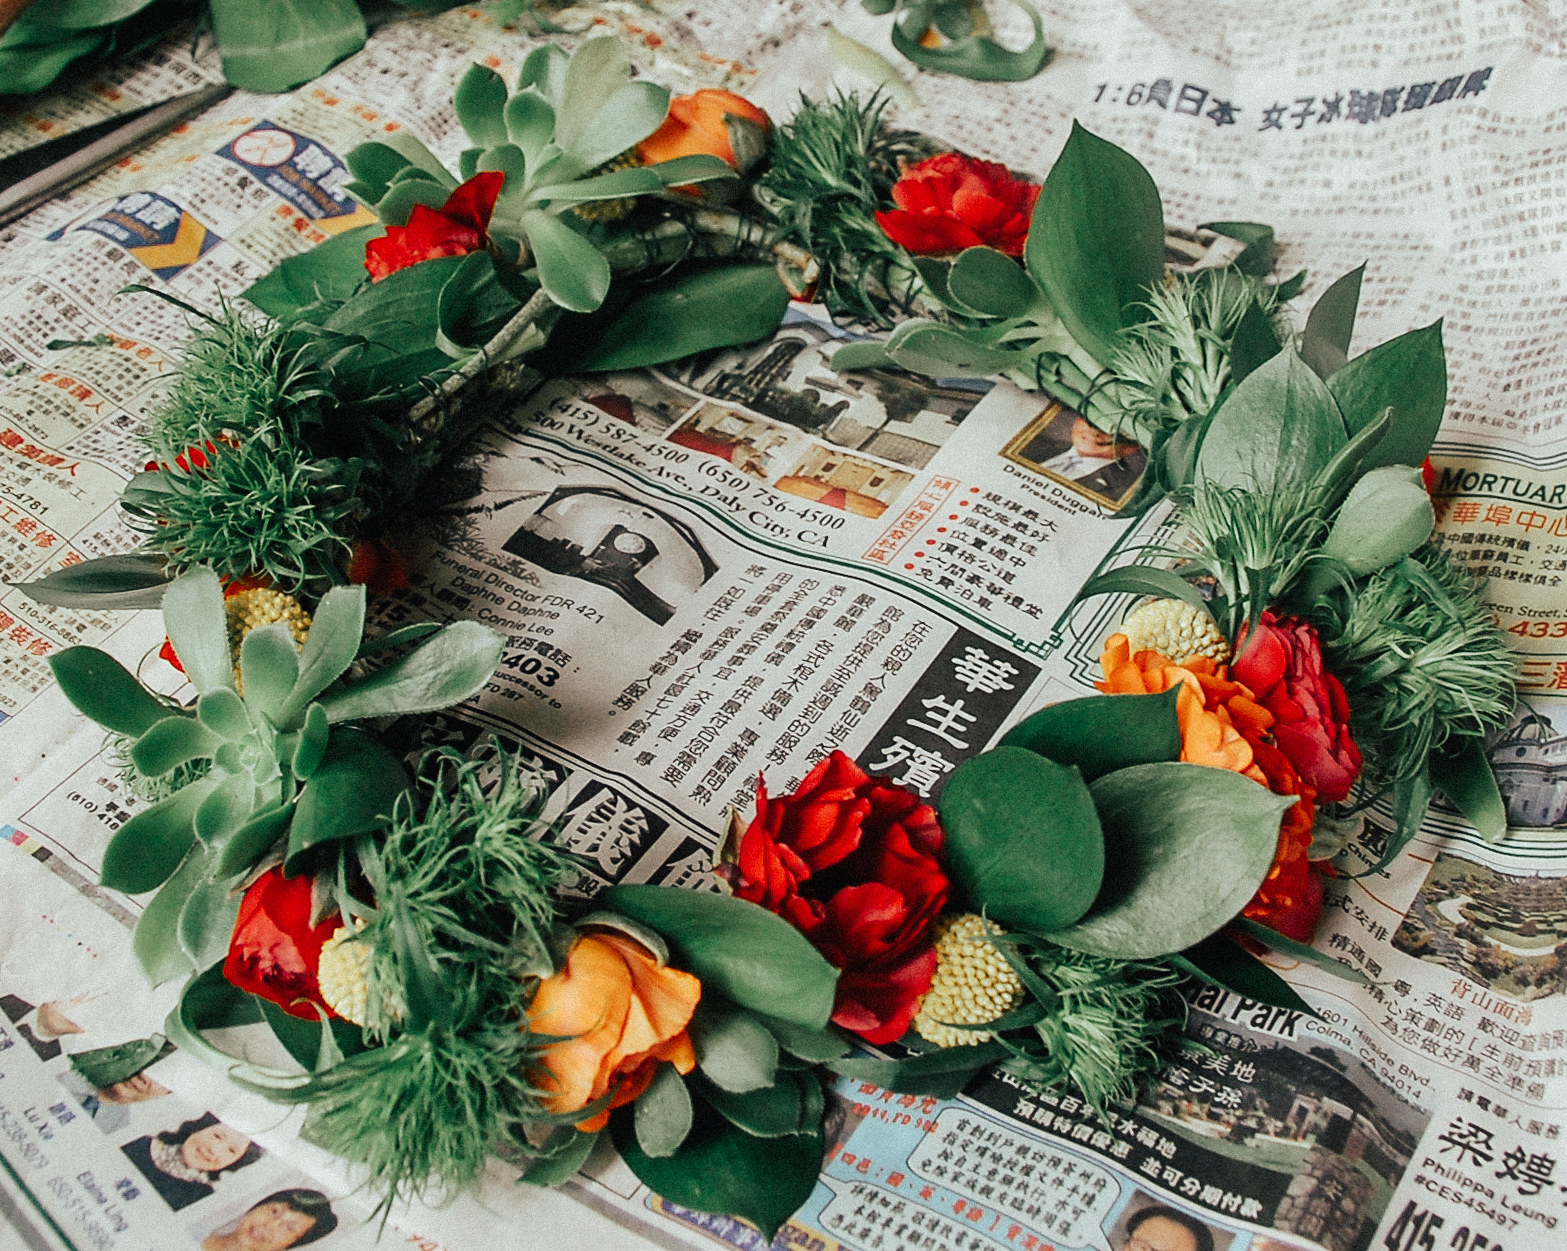
TA-DA!
You're all finshed with your beautiful flower crown! Toss that bad boy on your head and snap some pics!


